
Mess or Success: Girl Scout edition
In this week’s Mess or Success, Alley Loope recreates some Girl Scout favorites.

//Photo by Alley Loope
[title_box title=”Mess or Success: Girl Scout edition”]
It’s the most wonderful time of the year, aka, Girl Scout cookie season. Girl Scout cookies are one of the greatest All-American traditions. When spring comes around, you can expect to see scouts on every corner and outside every Wal-Mart trying to sell you as many boxes as possible. But, what happens when Girl Scout season comes to a close and you can no longer just stroll down to Hodges Library to pick up a box or two? Instead of waiting for the next cookie season to come around, why not make your own?
This week on Mess or Success we are baking, you guessed it, DIY Girl Scout cookies. After conducting a poll on Twitter, I determined the top faves were Thin Mints and Samoas, (and I am so mad at all of you for disrespecting Tagalongs) so I found the perfect Pinterest recipe for each. 
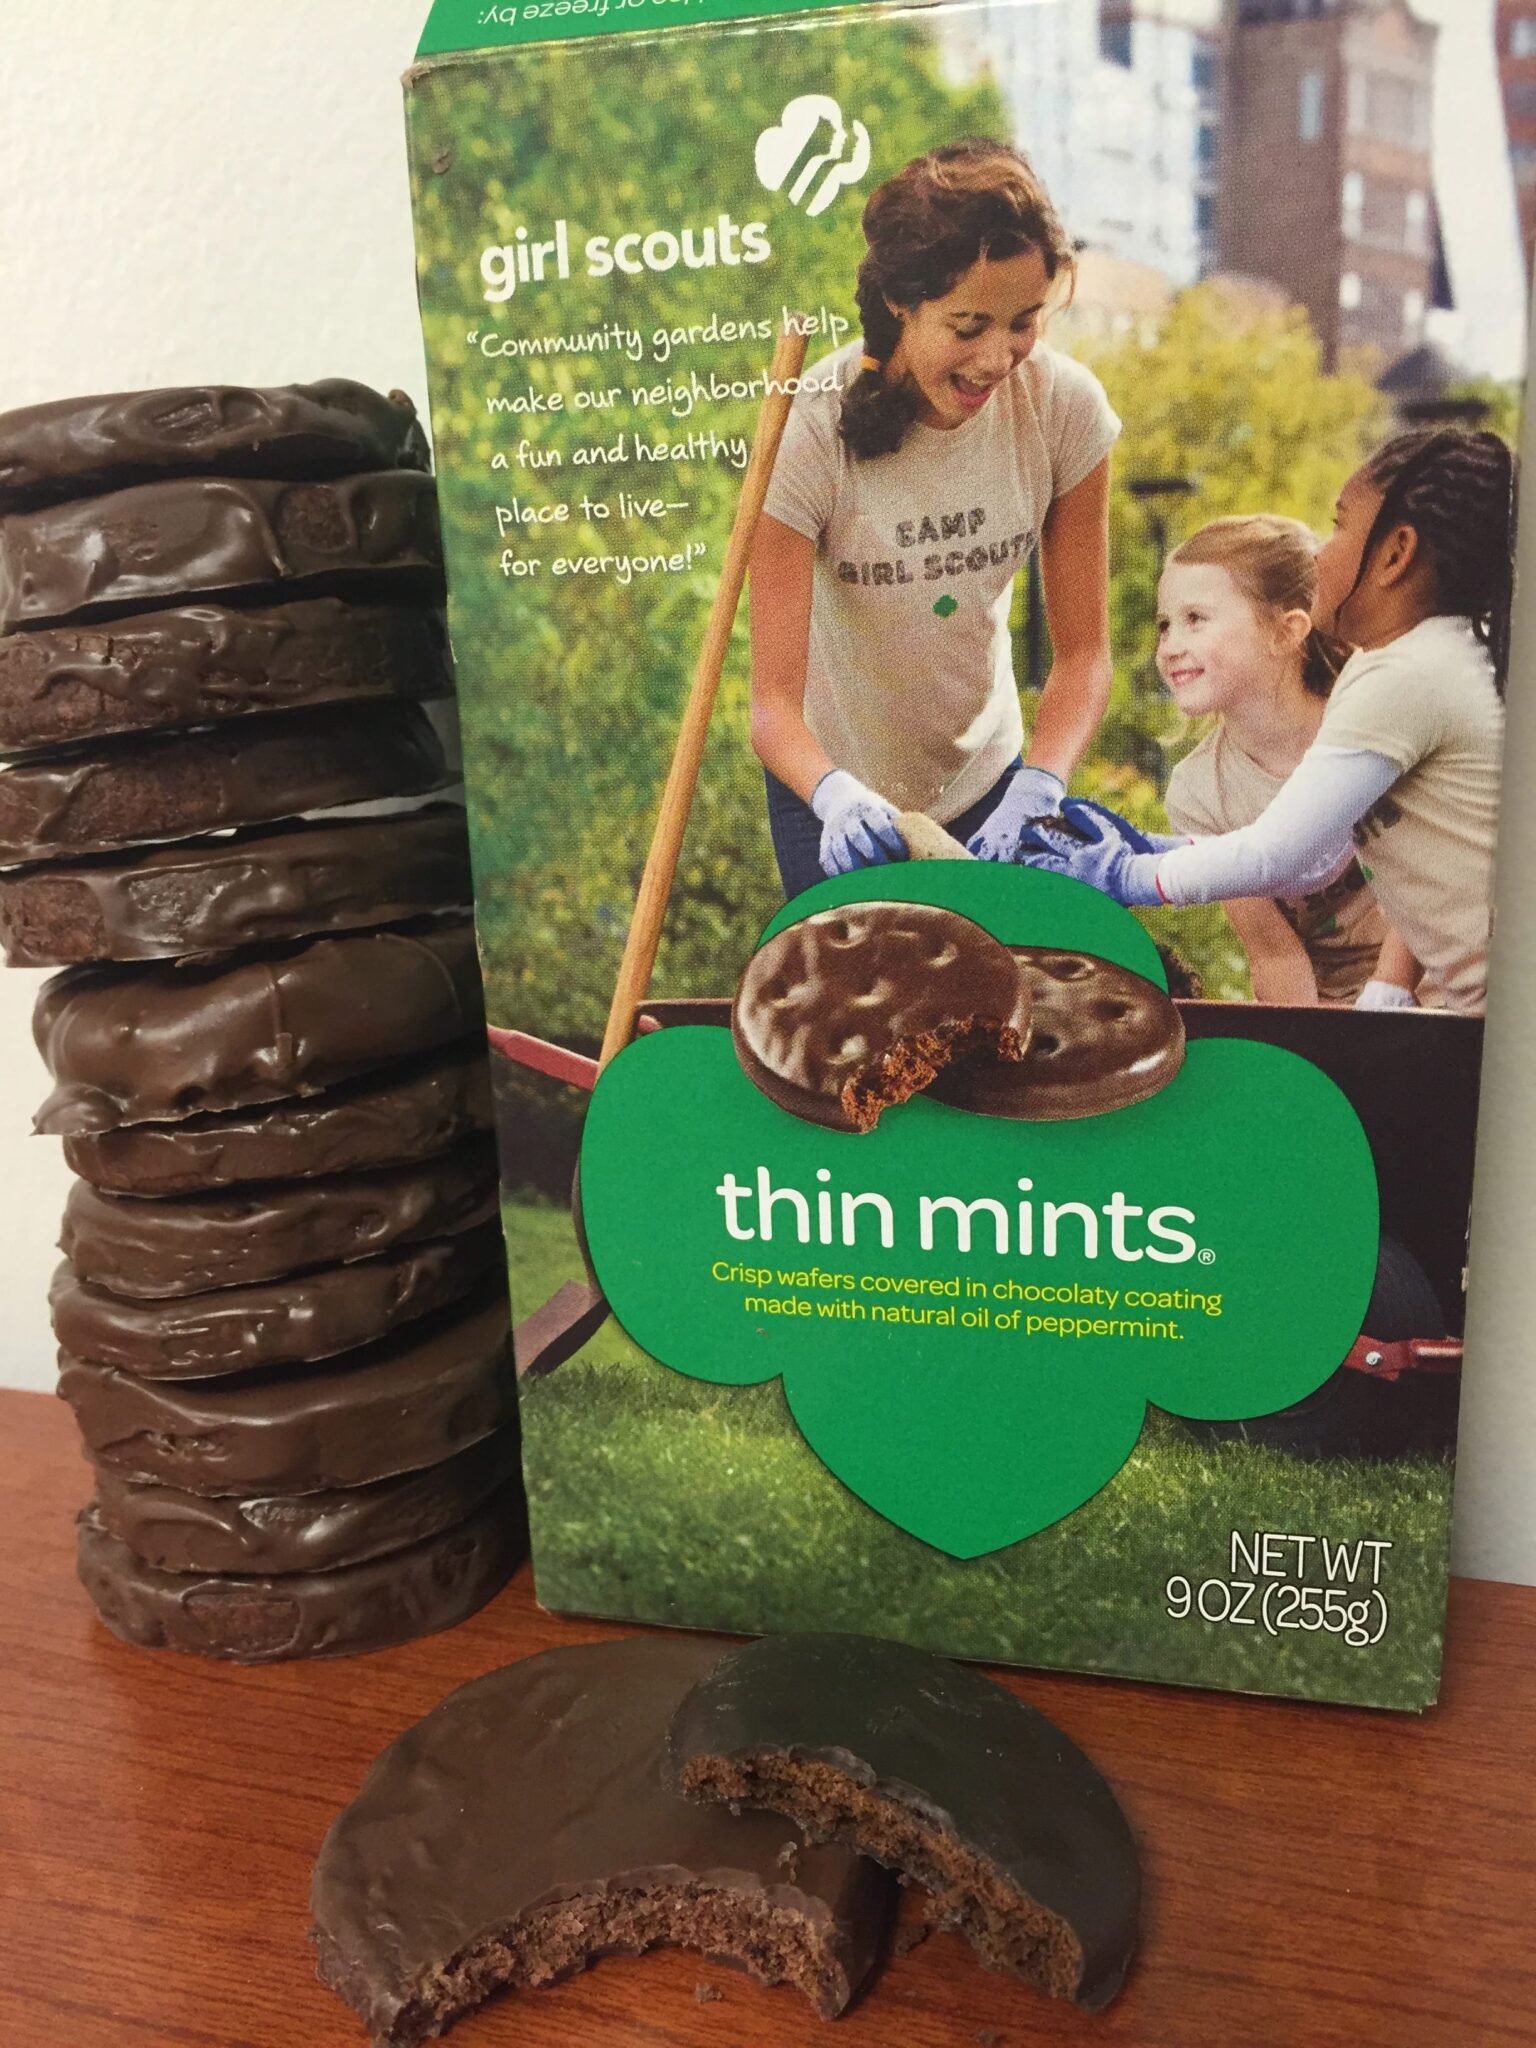
First up: Thin Mints.
You will need:
- 1 ¼ cup cocoa flour
- ½ cup cocoa powder
- ¼ tsp. salt
- ½ cup butter
- 1 cup sugar
- 1 egg
- ¾ tsp. peppermint extract
- 8 oz. chocolate
- cookie cutter
Preheat the oven to 350, grab a baking sheet and line it with wax paper.
Whisk the salt, flour and cocoa powder together in a bowl, then cream butter and sugar together in another bowl. Next, add the egg and peppermint extract to the bowl of butter and sugar.
Start adding your flour/cocoa mixture to the other bowl a little bit at a time, mixing as you go. Because of the ratio of dry ingredients to butter, beware of the impending dust storm. You will probably be covered in cocoa powder for the rest of your life.
Now once you have your dough made, the recipe says to mold it into a cylinder and freeze it…but that’s too much work in my opinion. So, I just rolled the dough out with a rolling pin, stuck it in the fridge for about half an hour and then cut the cookies out with a standard cookie cutter.
Bake those for around 15 minutes, or until they feel pretty crispy, and then let them cool.
Next, melt your chocolate and then start dipping your cookies. Personally, I actually found it a lot easier to spread the chocolate on them with a butter knife, so you might want to give that technique a try.
After the chocolate sets, viola! You’ve got yourself some homemade Thin Mints. Mine were actually thick mints considering I have no concept of what ¼ inch thick means, but hey, according to my taste-testers, they were still pretty good. So I would call these DIY Thin Mints a success!
Now for our second project: Samoas.
You will need:
- 1 cup butter
- ½ cup sugar
- 2 cups flour
- ¼ tsp. baking powder
- ½ tsp. salt
- ½ tsp. vanilla
- 4 tbsp. milk
- 3 cups flaked coconut
- 11 oz. caramels
- 8 oz. semisweet chocolate chips
First, preheat the oven to 350, line your baking sheet with wax paper and combine butter, vanilla and sugar into a bowl. Cream those together, and then add in flour, baking powder, salt and 1 tbsp. of milk.
Mix it together until everything’s combined and it starts to look like dough. Lay it out on wax paper, and attempt (key word: attempt) to roll it out flat with a rolling pin. Mine was so sticky that it just wrapped around the rolling pin no matter how much flour I added to it, so I ended up getting too frustrated and flattening it out with the heels of my hands and hoping for the best.
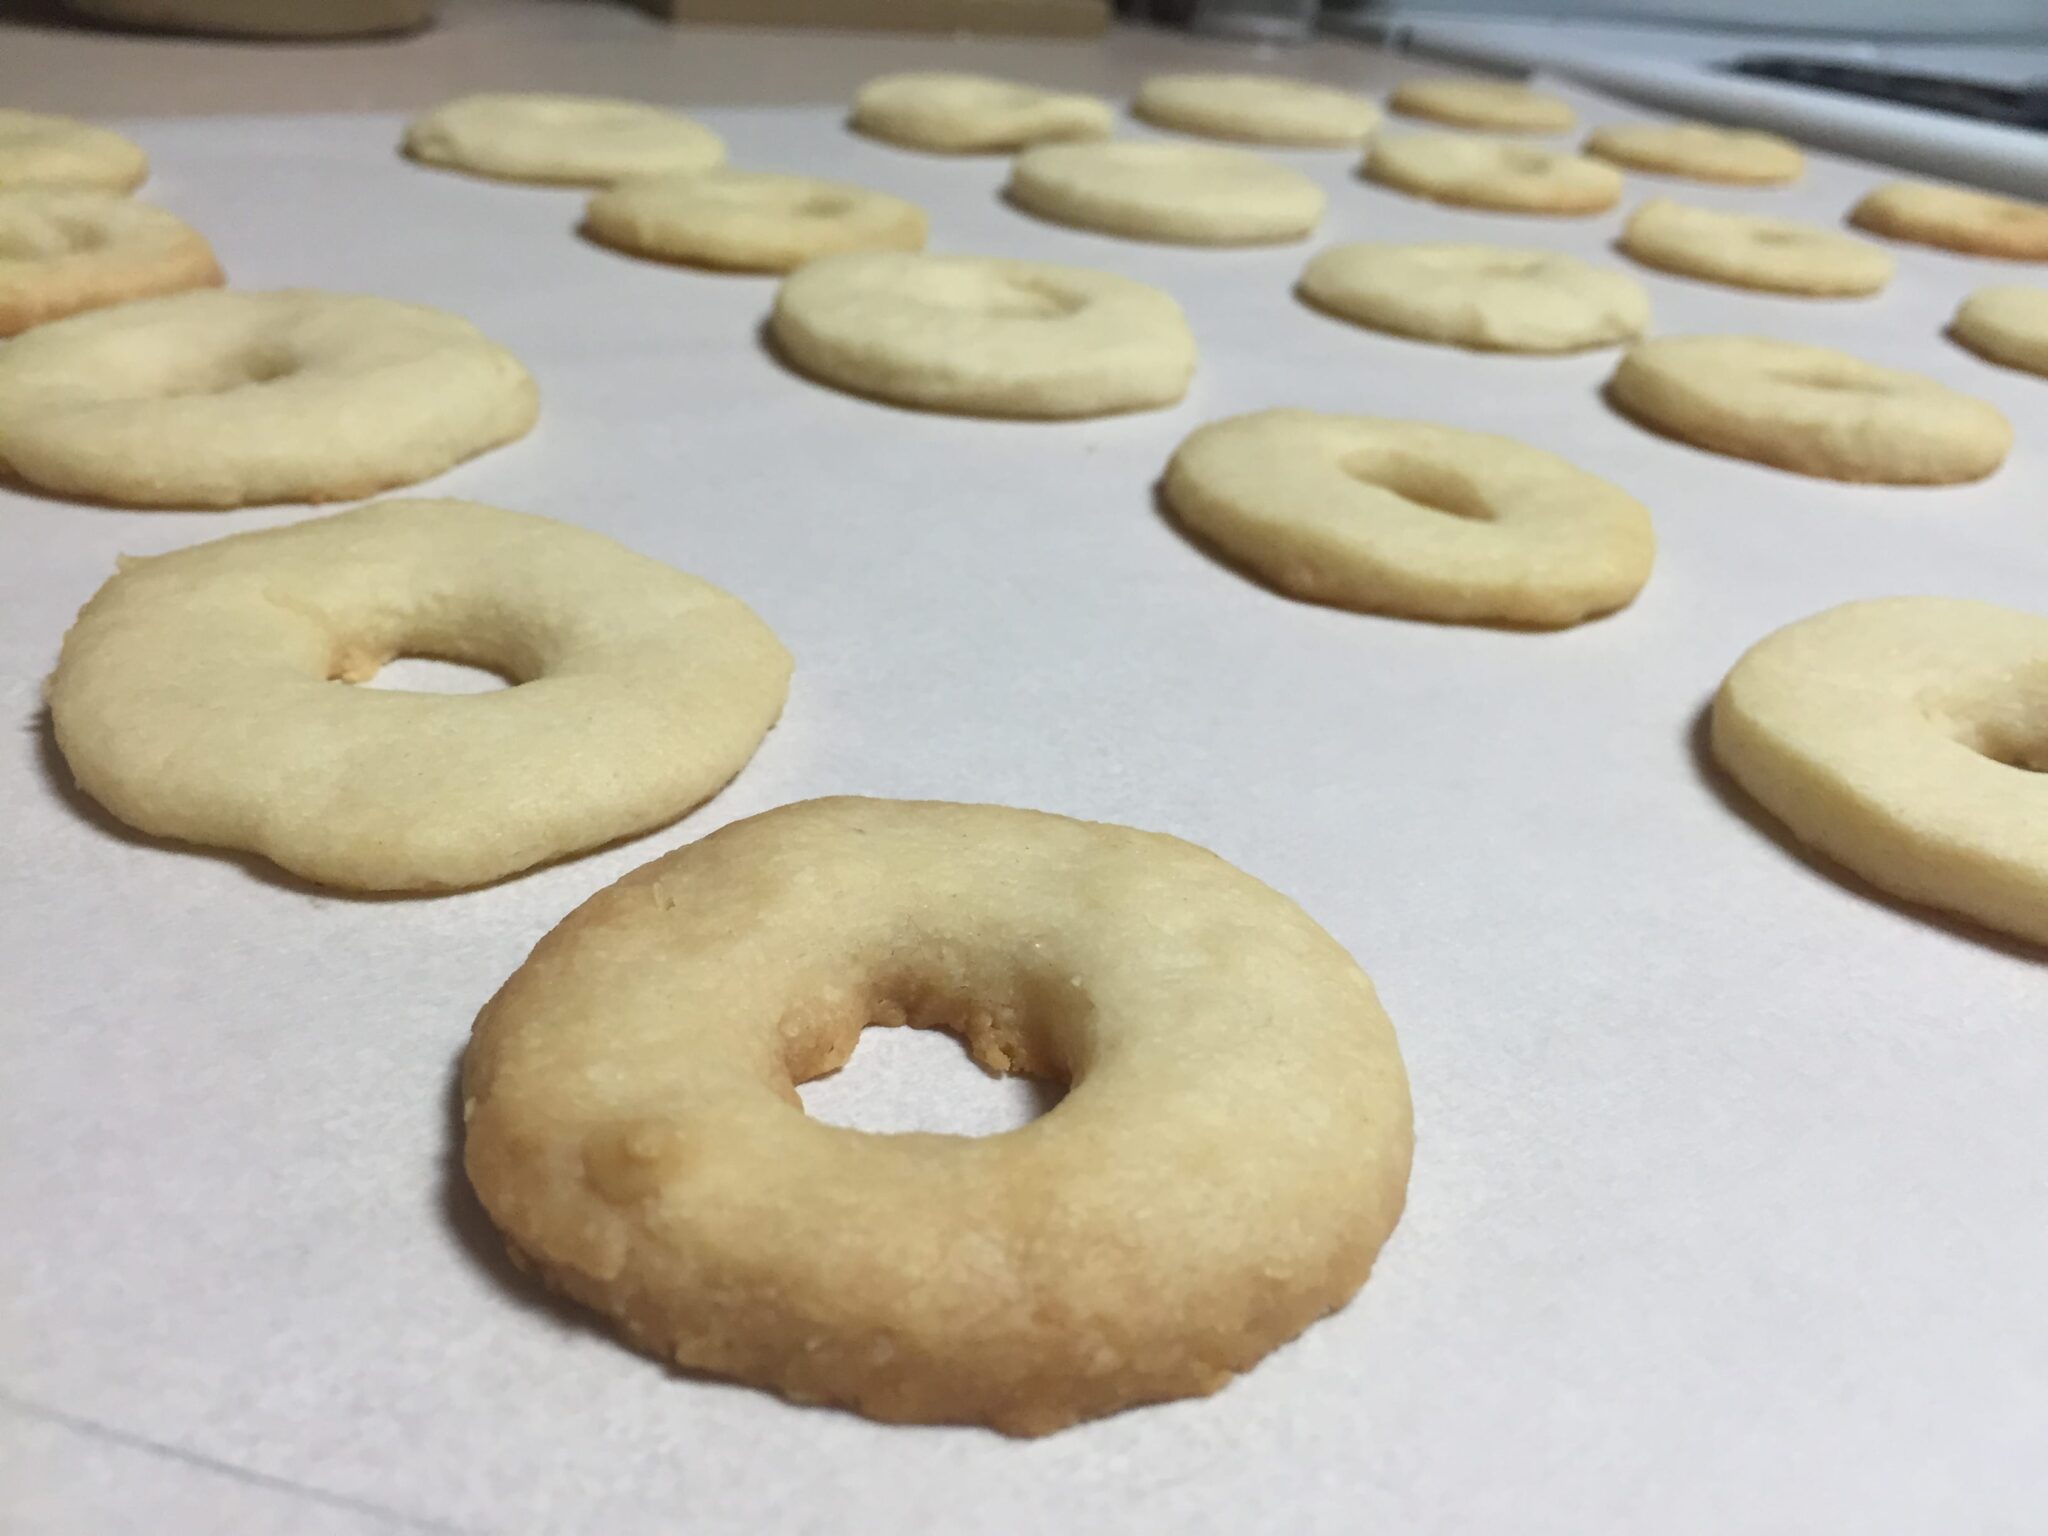
After that, it says to just start cutting cookies, but I had to stick mine in the freezer for a bit before I could do anything with them because the dough just fell apart. For the signature Samoas donut-hole look, I just used the cap from my vanilla extract to cut the center hole out of each cookie.
After you get them all cut, lay them out on your pan and bake them for about 15 minutes and then turn the oven down to 300 degrees.
As the cookies are cooling, spread your coconut out on the baking sheet, and stick it in the oven for about 25 minutes, mixing it up occasionally until all of it is golden brown.
Next, melt your caramels and 3 tbsp. of milk in the microwave until it look like a caramel sauce and fold the coconut into it.
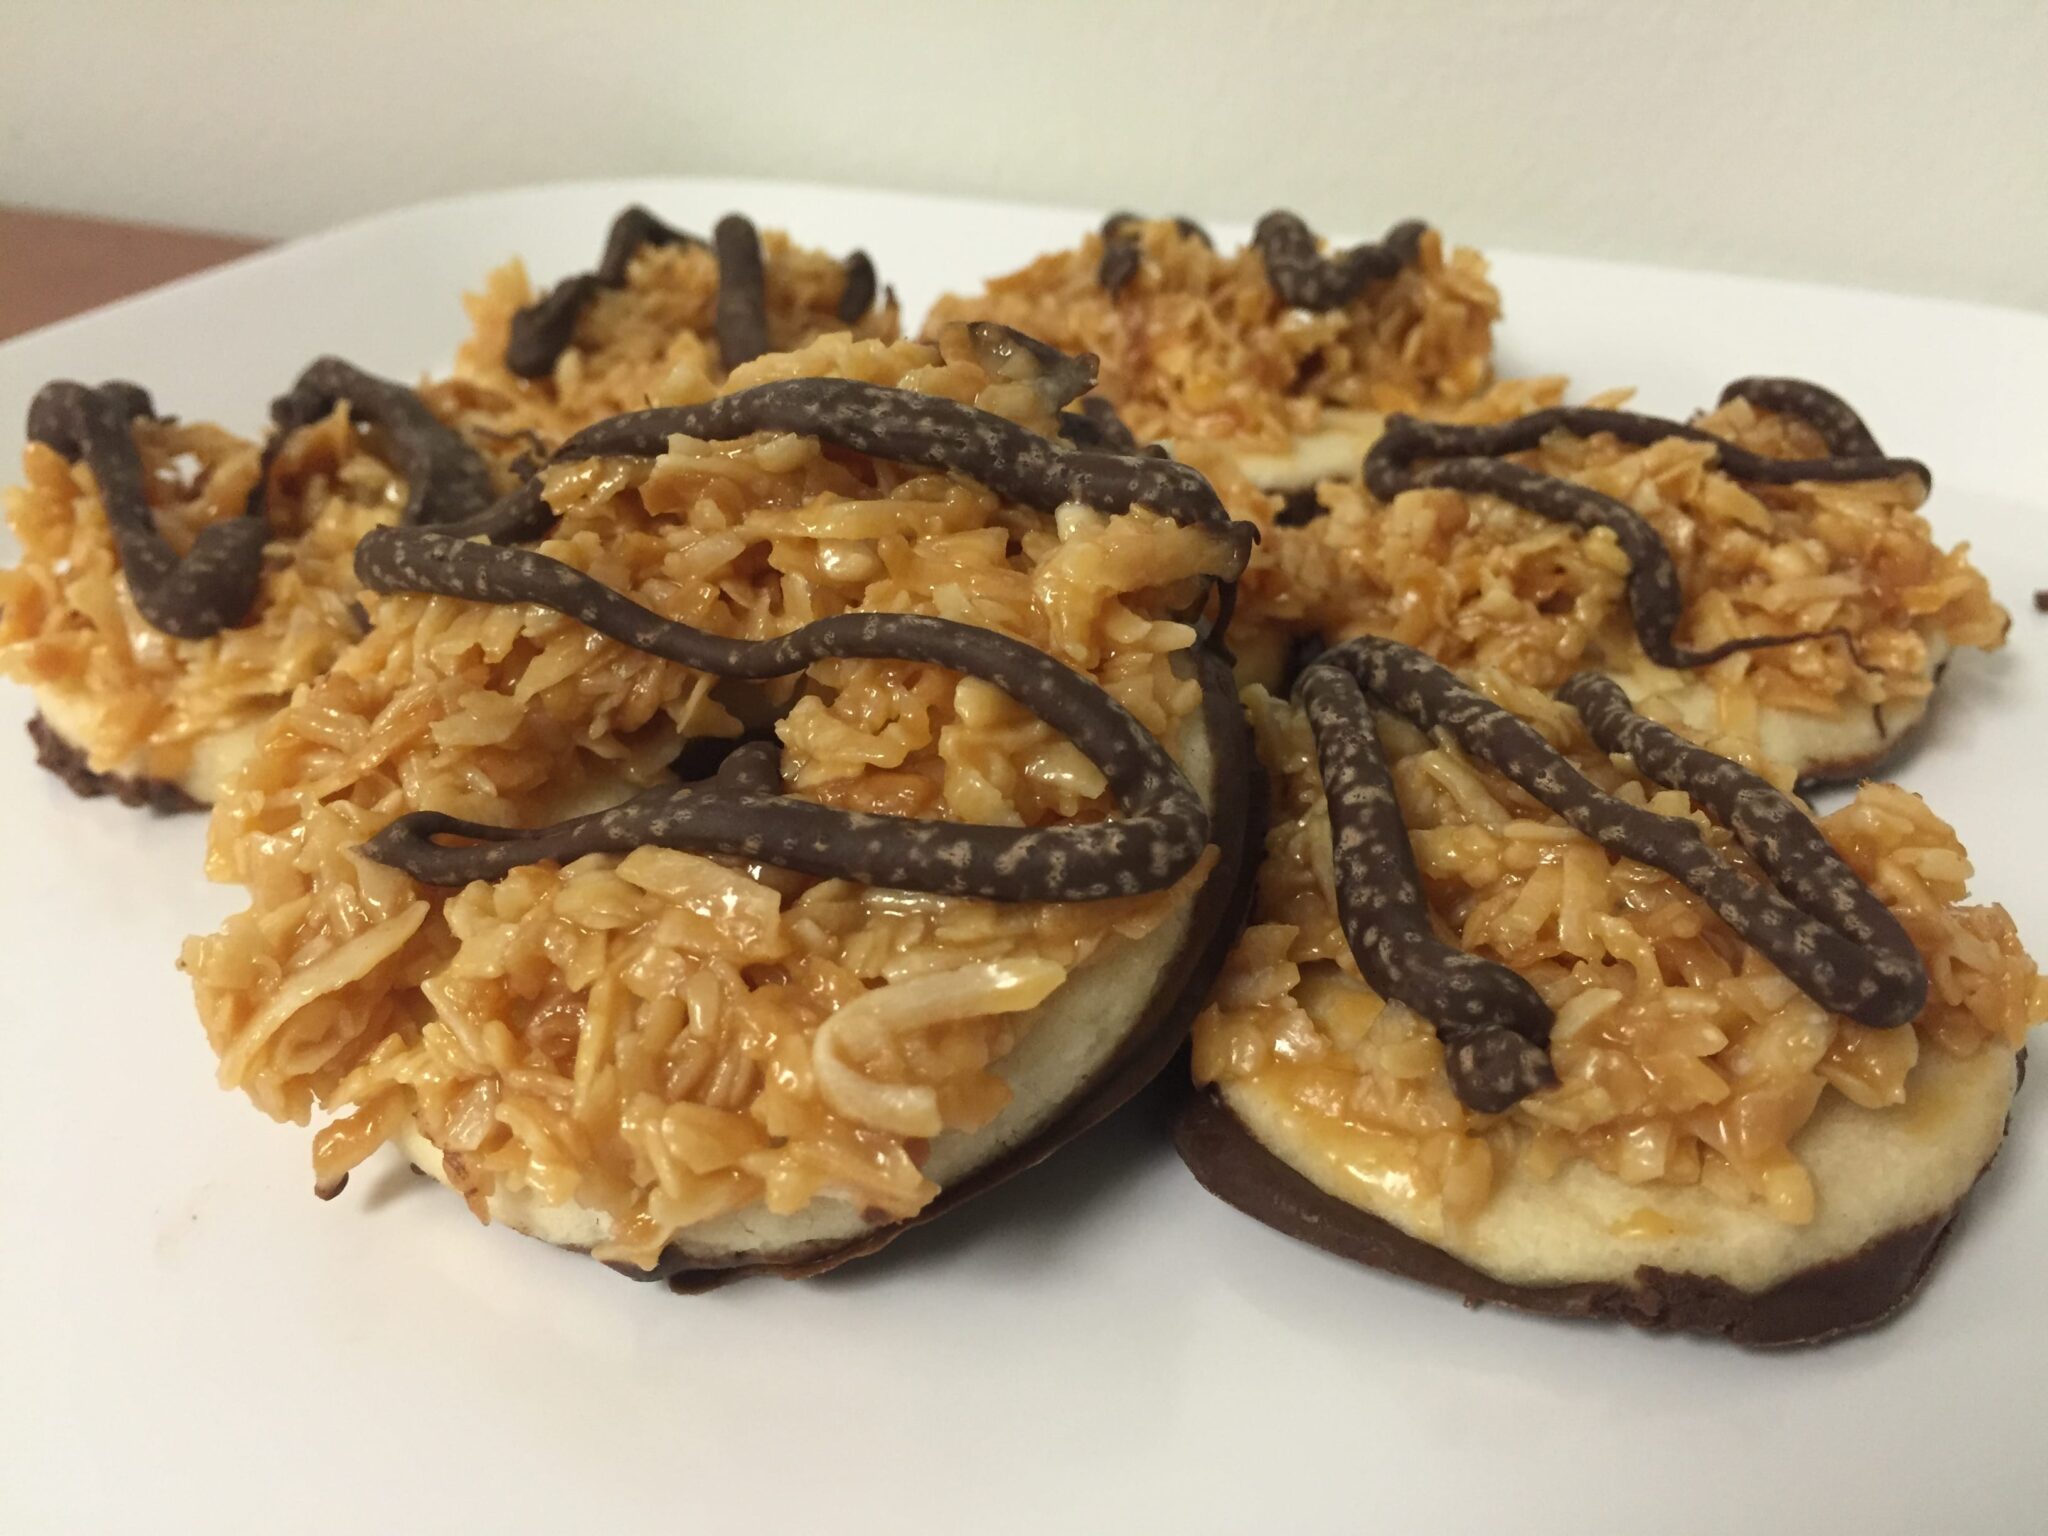
Then, you’re going to attempt to top the cookies with your caramel coconut mixture. Doing this was probably the worst task I’ve ever tried to complete in the course of my young life. I had caramel stuck all over my entire being. I even got some in my hair. It’s sticky, it’s terrible, it’s not going to sit right on your cookies…but it is pretty tasty. So, honestly, just slap some topping on the cookies and don’t worry about how it looks for now.
Lastly, melt your chocolate, dip the bottoms of the cookies in it, drizzle some on top, stick them in the fridge for a little while and boom, you’ve got yourself some homemade Samoas.
Now, if I’m being honest, I would probably never wish this task on anyone ever again. The dough was a nightmare to deal with, the coconut and caramel stuck to everything I own, and the whole ordeal was just a huge, and kind of expensive, mess.
For the time and patience it took to make these, I honestly don’t recommend this to anyone unless your entire life revolves around your love for Samoas. They taste pretty great, but my vote is just wait until Girl Scout season for some of these treats. Some kinds of cookies should definitely be left for only the special Girl Scout wizards to handle, and these are one of them.
For now, though, enjoy Girl Scout season while we have it, and for the off-months, you can bake these homemade Thin Mints for all of your friends. Maybe that will take your mind off of the Samoas until spring comes back around.
So after one mess and one success, that’s all I have for this week. As always, you can find the recipes for these cookies on my Mess or Success Pinterest board. Happy baking and happy spring break!
Photos by Alley Loope
Edited by Taylor Owens
Alley is a junior at UT majoring in journalism and electronic media. She has a passion for pop culture like no other and hopes to one day work on red carpets interviewing all of her favorite celebrities. When not writing for the Tennessee Journalist, you can probably find Alley live-tweeting award shows or sharing photos of her cat, Hedwig, on Twitter.